Lightning Lane Explained (2026): How to Use It Step by Step
Lightning Lane is Disney World’s paid system that lets you skip standby lines by reserving return times in the My Disney Experience app.
If you have not been to Disney in a few years, this is one of the biggest changes. What used to be included with your ticket through FastPass is now a paid system, and understanding how it works ahead of time can make a major difference in your trip.
What Changed (And Why It Confuses People)
Disney used to offer FastPass+ for free, which allowed guests to reserve rides in advance without paying anything extra.
That system no longer exists.
In 2026:
- Lightning Lane is not included with your ticket
- Most skip-the-line access requires an additional daily purchase
- Some rides require separate individual purchases
This is why many visitors feel caught off guard if they have not been recently.
How Much Lightning Lane Costs (And When You Pay)
Lightning Lane pricing can vary by date and demand, but here is how it works:
Lightning Lane Multi Pass
- You pay per person, per day
- It is tied to the park you are visiting that day
Important Details
- If you are going to Magic Kingdom, you buy it for Magic Kingdom that day
- If you go to EPCOT the next day, you must purchase it again
- It does not carry over between days
What If You Have a Park Hopper Ticket?
You still purchase Lightning Lane based on your starting park.
However:
- After you enter your first park, you can begin booking Lightning Lanes in another park (based on availability)
This gives you flexibility, but availability in the second park can be limited later in the day.
Lightning Lane Single Pass (Individual Rides)
- These are separate purchases per ride, per person
- You can buy them even if you do not purchase Multi Pass
- Prices vary depending on the ride and day
When You Can Book Lightning Lanes (2026)
If You Are Staying at a Disney Resort
- Book 7 days before your check-in date
- You can plan multiple days at once
If You Are Not Staying at a Disney Resort
- Book 3 days before each park day
This early booking window is one of the biggest advantages for on-site guests.
How to Book Lightning Lane Multi Pass (Step by Step)
In the App
- Open My Disney Experience
- Tap the menu icon (bottom right)
- Tap “Lightning Lane Passes”
- Select your park and date
- Choose up to 3 attractions
- Select your return times
- Complete your purchase and confirm
These are your starting selections for the day.
What Happens After You Use Your First Ride
Once you scan into your first Lightning Lane, you can start booking more.
How to Do It
- Tap into your ride
- Open the app immediately
- Tap “Lightning Lane Passes”
- Select another attraction
- Choose a time and confirm
You can repeat this throughout the day, one at a time.
How to Modify Your Selections
Step-by-Step
- Open the app
- Tap your Lightning Lane reservation
- Tap “Modify Plan”
- Choose a new time or ride
- Confirm
This is one of the easiest ways to improve your schedule without losing your spot.
How to Book Single Pass Rides
In the App
- Open My Disney Experience
- Tap “Lightning Lane Passes”
- Scroll to Single Pass rides
- Select your ride
- Choose a time
- Pay and confirm
These often sell out early, especially for the most popular attractions.
What You Can and Cannot Do (2026)
- You can hold multiple Lightning Lanes at once
- You can have overlapping return times
- You must use your first ride before unlocking more bookings
- You cannot stack a full day of rides first thing in the morning anymore
What to Book First (By Park)
This is where most people need help. If you choose the wrong rides early, it limits your entire day.
Magic Kingdom
Start with:
- Seven Dwarfs Mine Train (Single Pass)
- Peter Pan’s Flight
- Jungle Cruise
Then look for:
- Space Mountain
- Big Thunder Mountain Railroad
EPCOT
Start with:
- Guardians of the Galaxy (Single Pass or virtual queue if offered)
- Remy’s Ratatouille Adventure
- Frozen Ever After
Then look for:
- Soarin’
- Test Track (when operating)
Hollywood Studios
Start with:
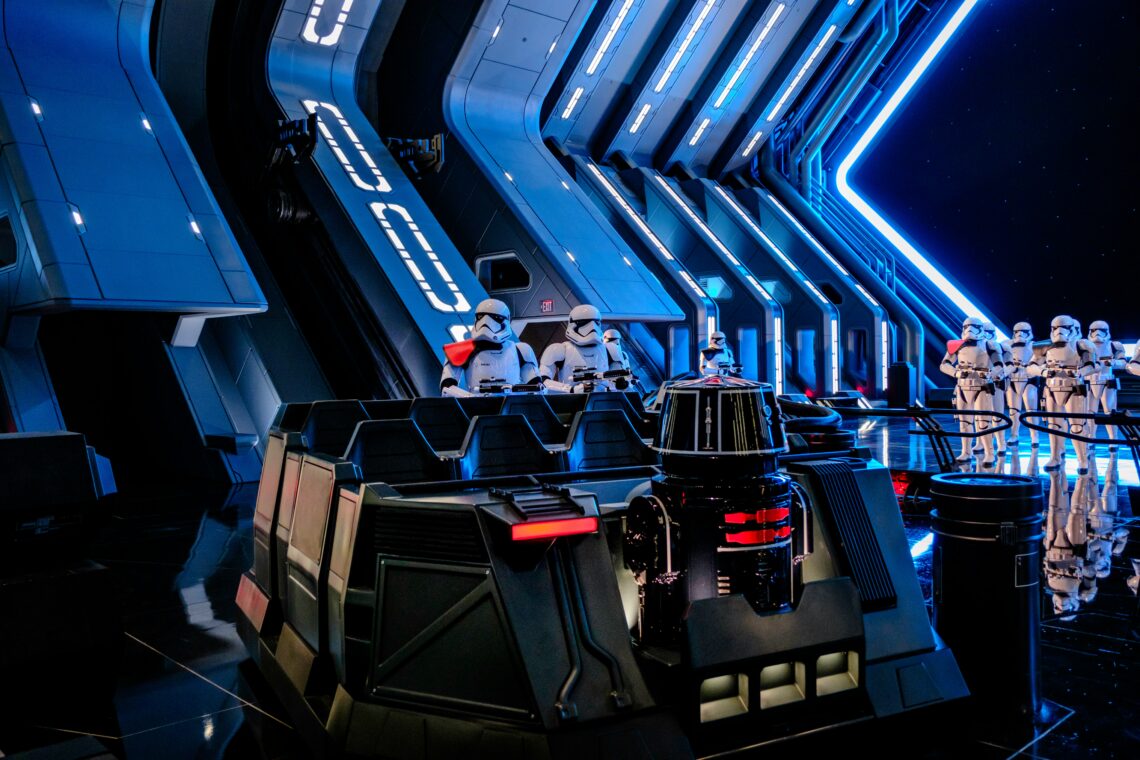
- Rise of the Resistance (Single Pass)
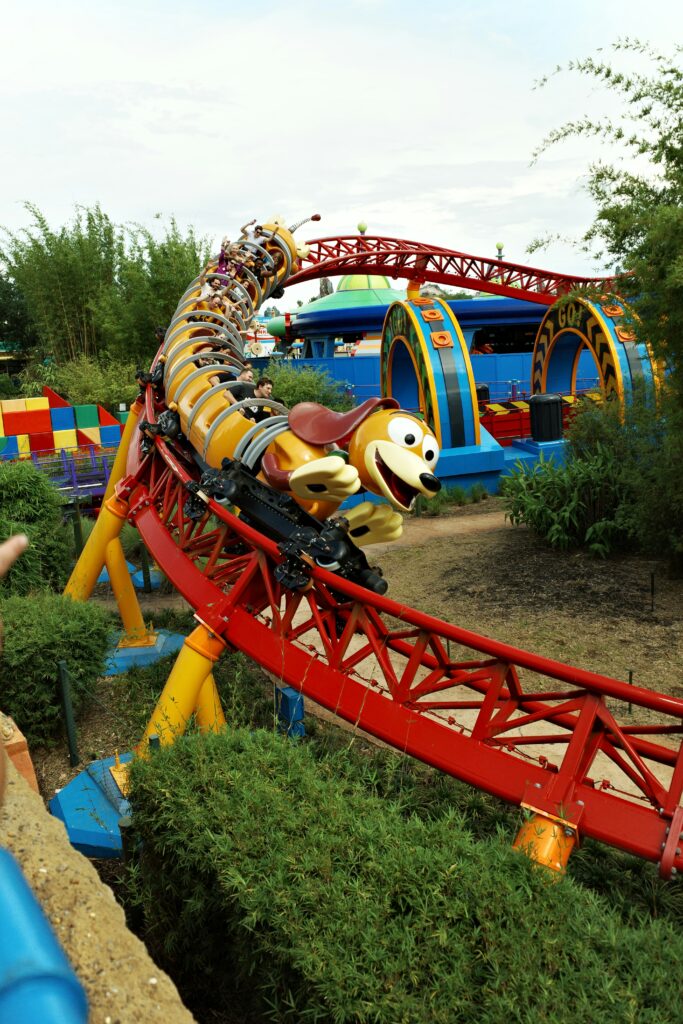
- Slinky Dog Dash
Then look for:
- Tower of Terror
- Mickey and Minnie’s Runaway Railway
Animal Kingdom
Start with:
- Flight of Passage (Single Pass)
- Na’vi River Journey
Then look for:
- Kilimanjaro Safaris (earlier in the day is better)
A Simple Strategy That Works
- Book your 3 rides as early as possible before your trip
- Choose at least one high-demand ride
- Use standby lines in the morning
- Tap into your first Lightning Lane as soon as your window opens
- Immediately book your next ride
- Continue adjusting throughout the day
Common Mistakes to Avoid
- not booking early enough before your trip
- choosing low-demand rides first
- not opening the app after scanning into a ride
- canceling instead of modifying
- assuming availability will still be there later
Final Thoughts
Lightning Lane is no longer something you figure out when you arrive. It is something you plan ahead of time.
While it does come with an added cost, using it correctly can save hours in line and make your day feel much more manageable.
Understanding how to book, when to use it, and what rides to prioritize can make a noticeable difference in your overall experience at Disney World.

You May Also Like

Complete Guide to Live Entertainment & Shows at Disney World

Disney World New Year’s Eve 2025–2026: What to Expect, Crowds, & the Best Parks